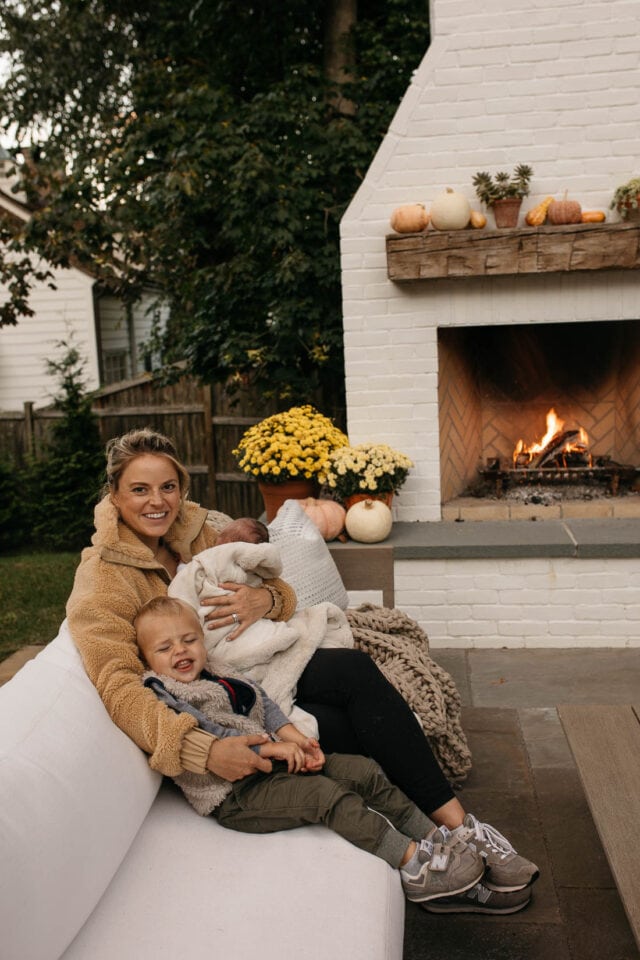
When we first moved into our house we knew a few interior projects we wanted to dive into immediately, as well as some items on our “5 to 10 year Plan,” one of them being our outdoor fireplace. The more Matt and I talked about it, we decided to make this investment a bit sooner (and forge some interior projects for now) as we knew we were about to have a second child, and would be spending a ton of time at home the next several years, and we thought this would be such a nice space to host and gather as a family. I envisioned spring, summer and fall nights spent outdoors, roasting s’mores with the boys and enjoying a nice glass of wine while listening to music. Having this has been everything I envisioned and more.
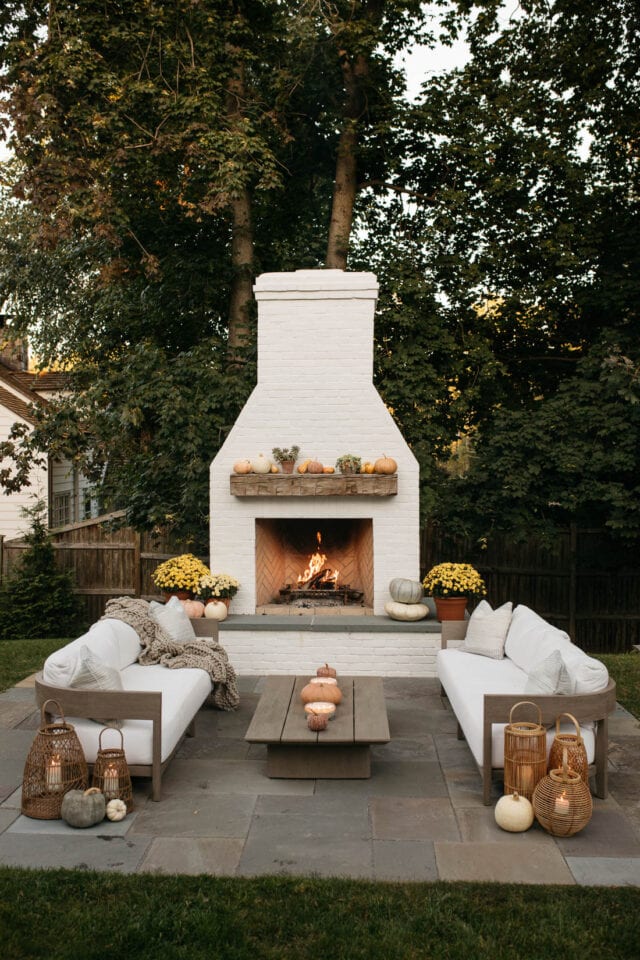
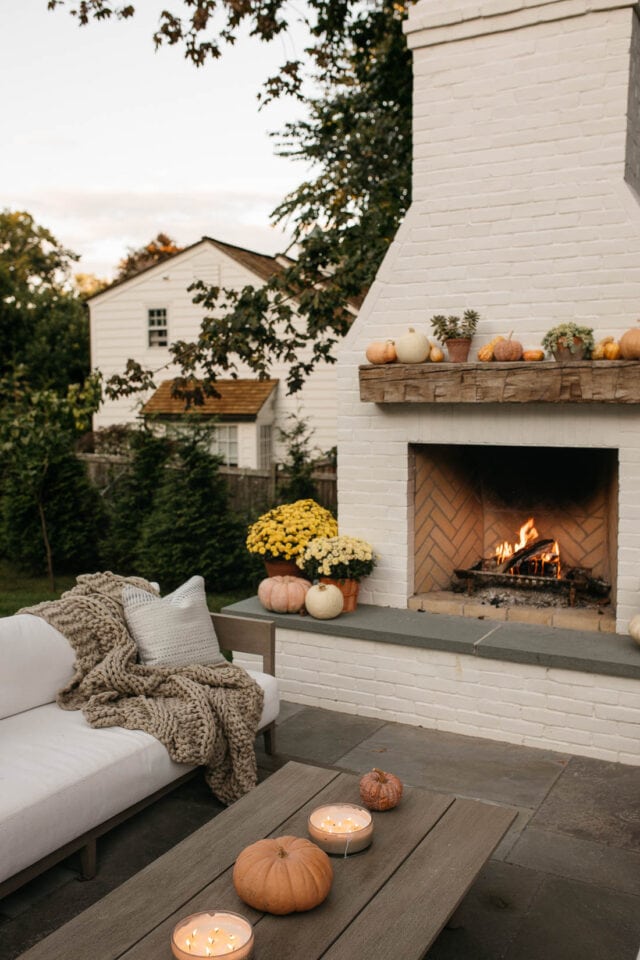
Hands down, this fireplace has been our most used and loved piece of our home. Whether it has been for entertaining or just our little fam, it has been put to very good use. We ran the idea and inspiration photos past our contractor, Chris O’Dell – O’Dell Development and he told us that they had done many outdoor fireplaces before and we bounced a few ideas back and forth before the process got started and they brought our vision to life. They truly nailed every single detail.
A lot of you who are local have asked about who our contractor is, so wanted to share here with a post so you can see their work, from start to finish. They have done all the work throughout our house and continue to take on my small task — I am sure Matt wishes I would stop coming up with, ha! Everything has been saved in my “Our Home” highlights on Instagram and I will be sharing eventually here on the blog as well.
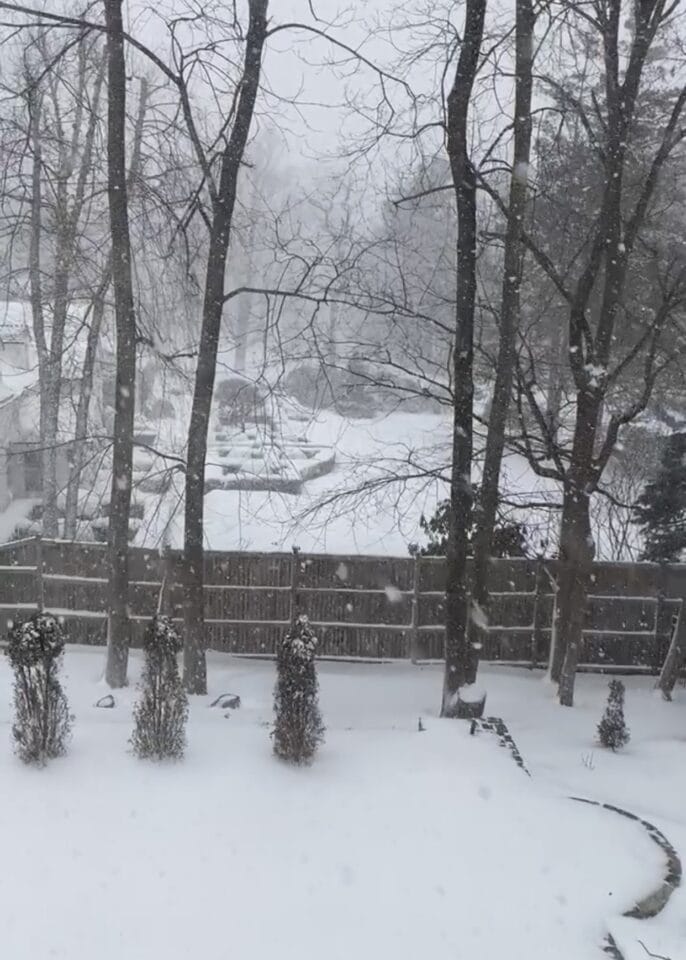
While Matt and I always wanted an outdoor fireplace, the idea sort of stemmed from a few blustones that were in our backyard that sat right down below our patio area. I am not certain what (if anything) the previous owners used it for, but it got us thinking that it would be the perfect spot for a fireplace. It is hard to see since the only photo I could dig up with is snow covered, but you get the idea that there were just a few small trees and open space before we built. The photo on the right is when they started to dig for laying the foundation.
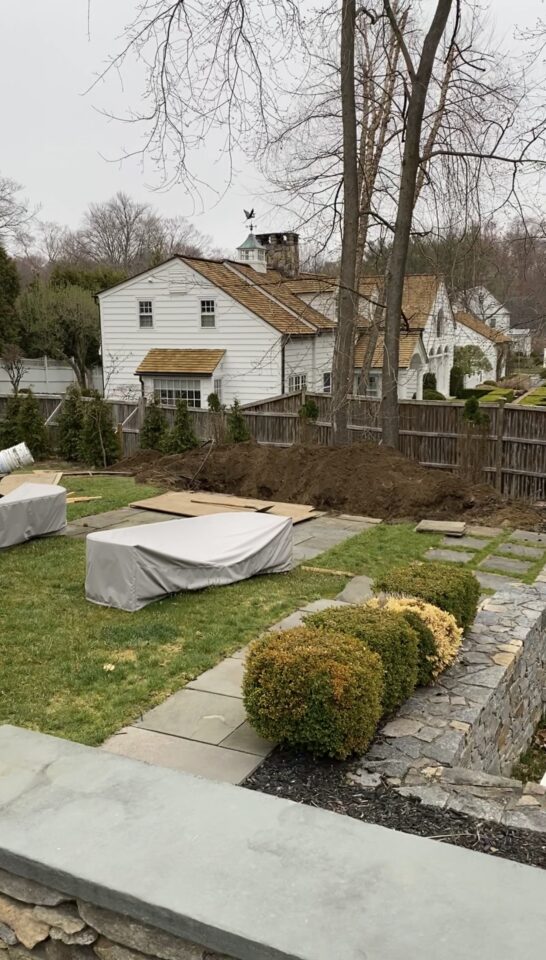
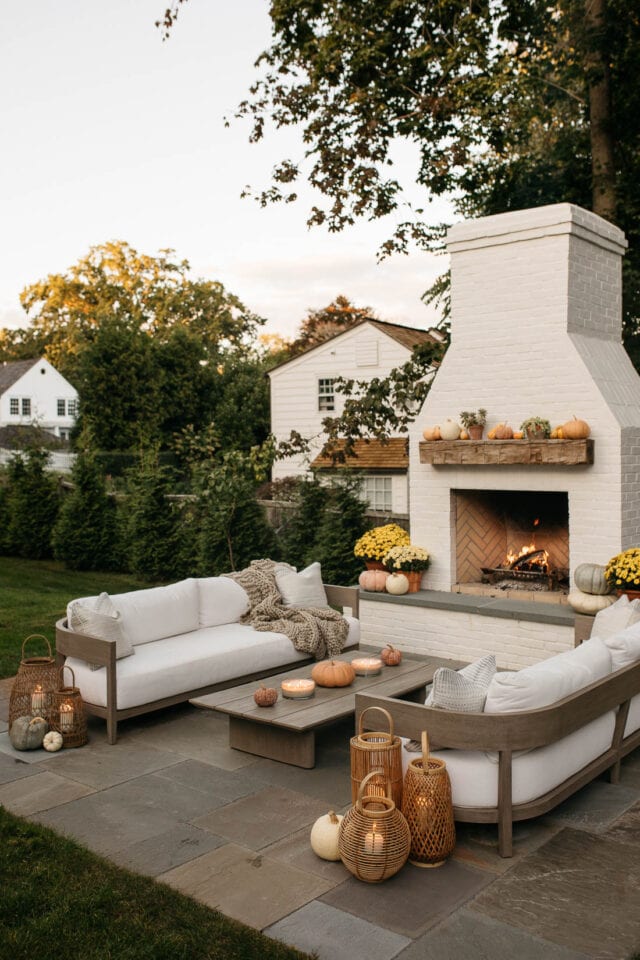
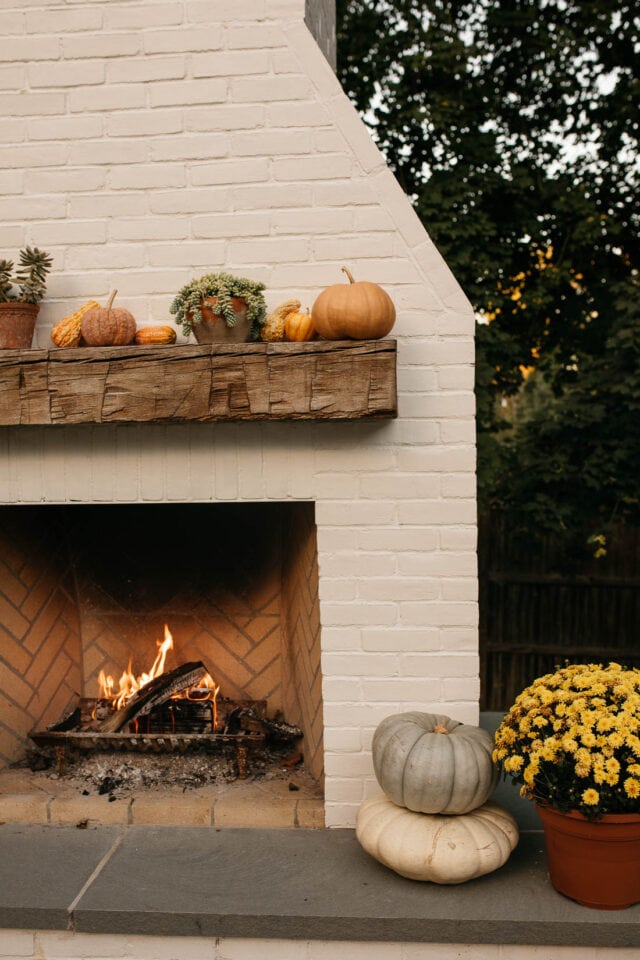
Below, you can see the work in progress of the fireplace going up. We decided to go with a yellow fire brick for the inside in a herringbone pattern. Note that I always thought these herringbone patterns were really expensive to add when in fact it is the same fire brick, just aligned in a different pattern, and they were able to do for a very reasonable cost. They then painted the outside red brick white, and we tried our best to match the white on the outside brick of the fireplace in our house (we used Benjamin Moore Cloud White). You can also see the original size of the bluestone that was there and why we decided to expand it once we saw the size of the fireplace.
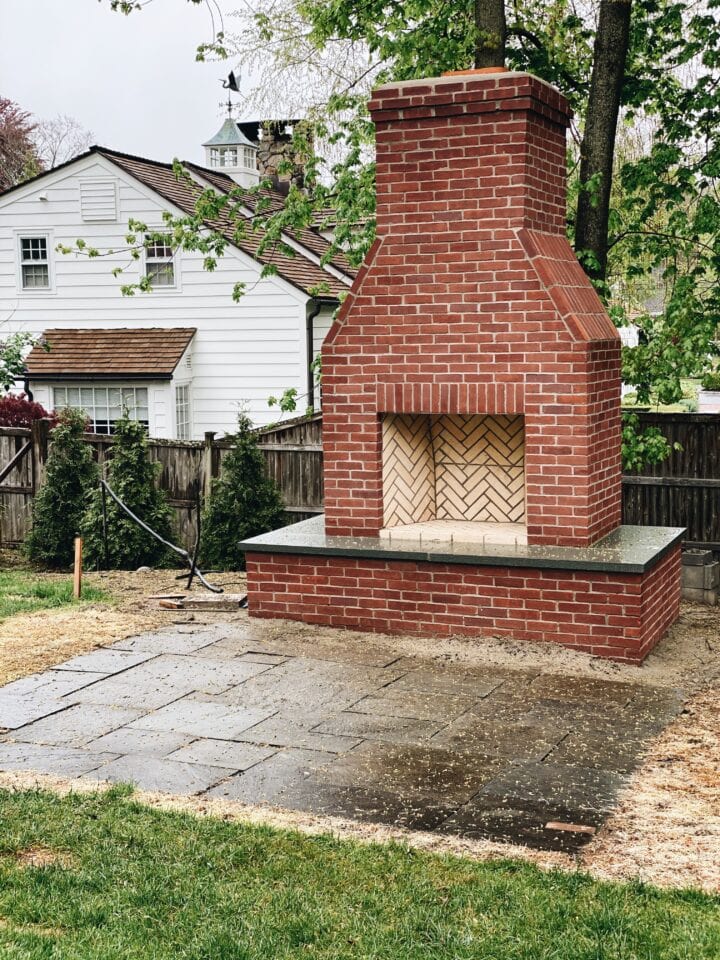
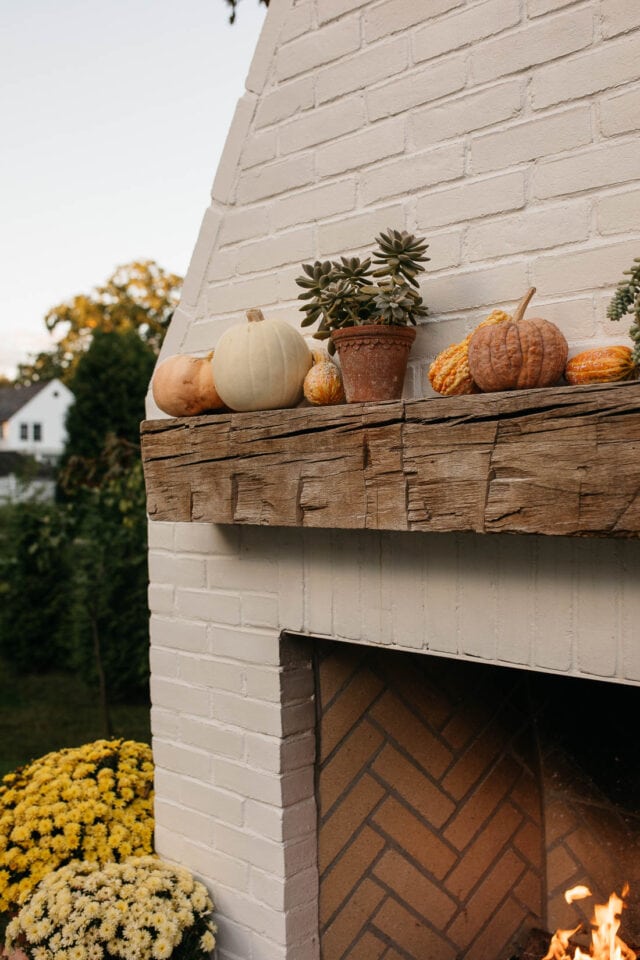
When talking about the initial design, height, etc. one thing I wanted for sure was an exposed wood beam as a mantle. Our contractor sourced an incredible rustic one from an old barn out in PA. They brought us the long beam to look at before cutting to size and I loved the natural details throughout the wood. Just an FYI, you want to make sure to seal the beam as it helps prevent the wood form fading over time!
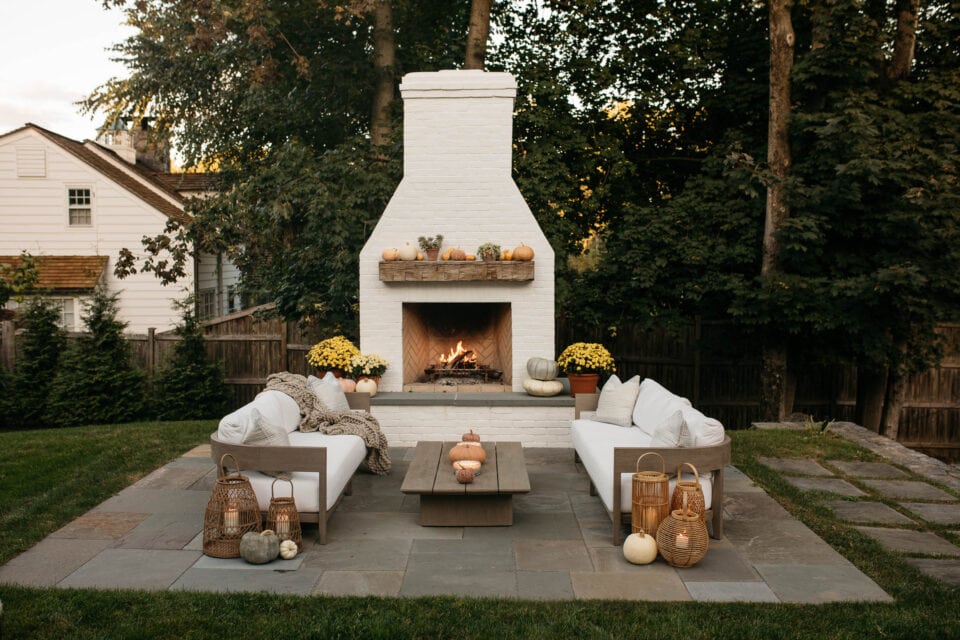
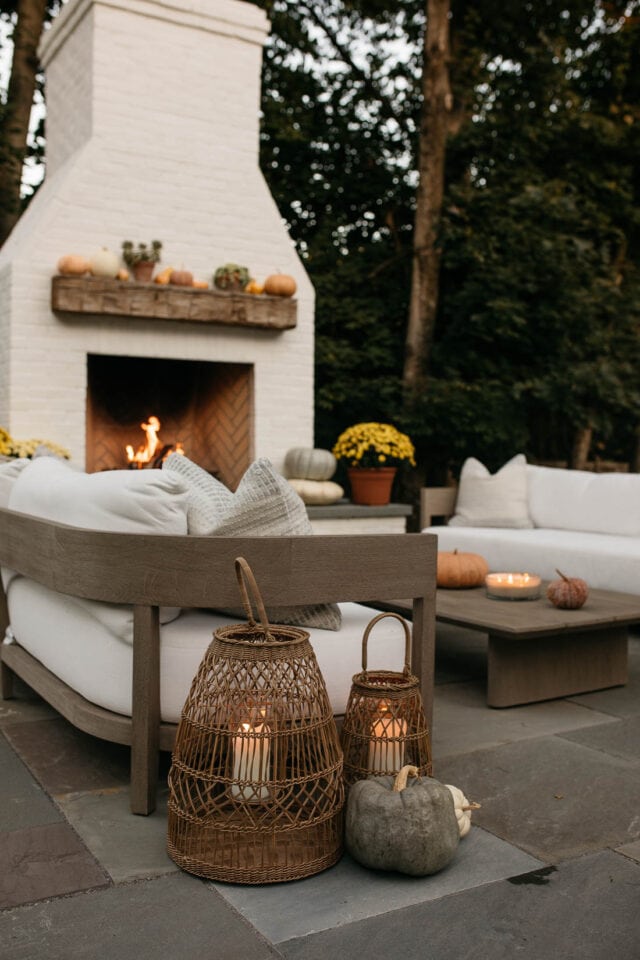
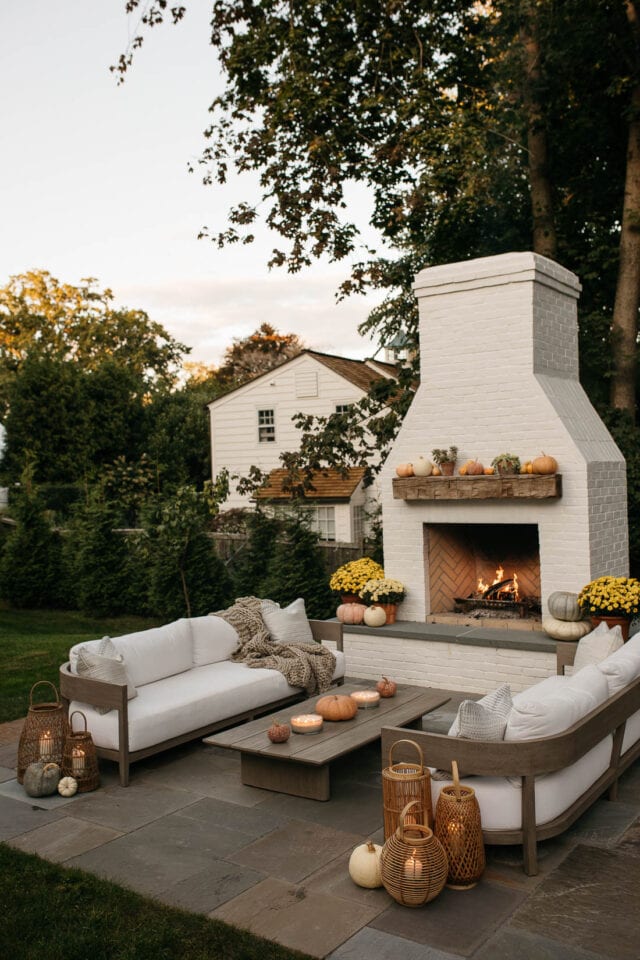
Another thing I frequently get asked about are our lanterns and outdoor furniture and pillows. Our couches (weathered teak) and coffee table and from Restoration Hardware, the lanterns (small // medium // large + this set of 2) and pillows are Serena & Lily, which has such a great selection of outdoor decor and furniture pieces.
I know a lot of you have asked about cleaning and covering our outdoor furniture. We leave the cushions and pillows on and try our best to cover the couches each night. We bought the covers that are custom for our couches and they are easy to take on and off. When winter rolls around we plan to take all cushions inside and just cover the teak. As for cleaning, Folex has worked pretty well for spot cleaning in addition to our Bissel. We clearly opted for a lighter fabric color, so some dirt and debris shows more than a darker color, which is also why we just try and cover them more often, especially when the seasons change and we have a lot of debris from the trees. You can also unzip everything and toss in the washer, I just haven’t felt the need to take on that project yet. Other people have success with a power washer as well!
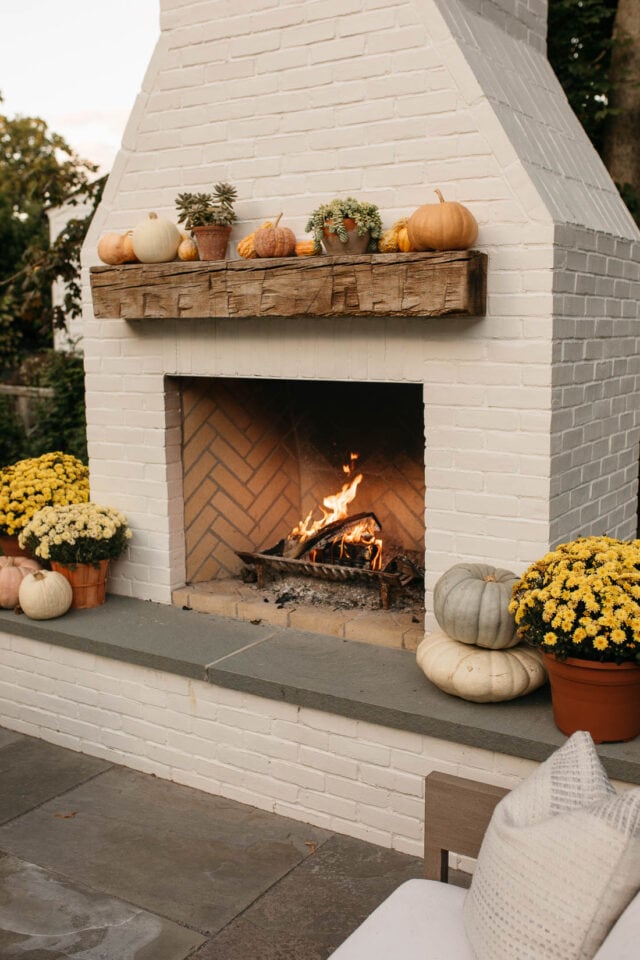
Measurements:
- Fire box: 36″h x 42″w
- Chimney Box: 75″ wide
- Lower Base/Hearth/Seat: 9′ wide
- Total height of structure: 11.5′
- Mantle: 8″x8″x60″ (reclaimed hand hewn chestnut)
- Patio Square Footage: 205sq
Paint colors/materials:
- red brick painted with Benjamin Moore Cloud White
- yellow fire brick for the inside in a herringbone pattern
- Patio pavers are flagstone
I hope you found this post helpful, please let me know if you have any other questions and specific details you need that I might have forgotten!

