
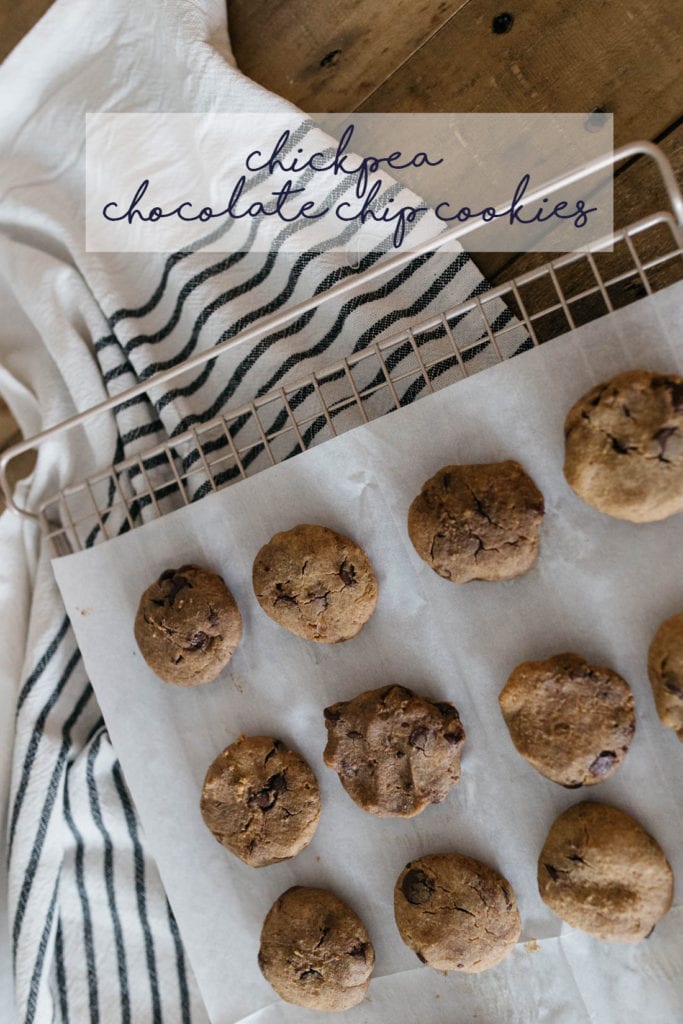
I shared a sneak peek of these bad boys on Instagram Stories (I share a TON of recipes there, but also trying to add more to the blog) and promised I would share the recipe on here! I don’t know what it is, but every since the holidays I can’t quite kick this sweet tooth, so have been slowly trying to ween off sugar and make healthier alternatives whenever possible. I have made these cookies for years and will always remember the first time I told Matt what they were. Needless to say he was not thrilled with the idea of a healthy cookie alternative, but after one bite guess who I am currently have to hide my stash from so they aren’t gone in one sitting….ha!
Something to note about these cookies, they do remain soft, so if you are looking for a crispy/crunchy cookie this might not do it for you. I love that everything is tossed into a food processor and they can be made, baked and eaten in under 30 minutes! I keep forgetting I want to make these for my niece’s to try without telling them and get their reactions. They have the BIGGEST sweet tooth alive and my sister-in-law is trying hard to make the switch to healthier sweet options for the kids as well. Let me know if you have any questions and I hope you enjoy!
Ingredients:
- 1 1/4 cup canned chickpeas – rinsed, drained and pat dried
- 2 teaspoons vanilla extract
- 1/2 cup + 2 tablespoons natural peanut butter (at room temperature) – very important to use natural so they don’t come out oily
- 1/4 cup honey
- 1 teaspoon baking powder
- Sprinkle of cinnamon
- 1/2 cup chocolate chips of your choice (dark, caco nibs, milk chocolate)
Directions:
- Preheat oven to 350 degrees
- Line baking sheet (I use this sheet pan set and this baking/cooling rack) with parchment paper (these Reynolds ones are a life saver)
- Add all ingredients EXCEPT the chocolate chips into a food processor
- Process until smooth
- Stir in chocolate chips, or toss in and pulse once or twice
- Wet your hands and form dough into 1.5″ balls. Make sure to keep your hands damp so the dough doesn’t stick (normal for dough to be sticky in the bowl)
- Press down slightly to form more of a cookie shape; the balls will not rise much in the oven
- Bake for 10 minutes
- Enjoy! You can store on the counter in a container or place in the fridge.
